Labels

Showing posts with label Repurposing. Show all posts

Friday, December 20, 2019

Hello my lovely readers! Popping in for a short bit to bring you a quick and easy party bag or potli , using what you already have. take a look at the end product and you'll see that it's well worth the half an hour spent on it.


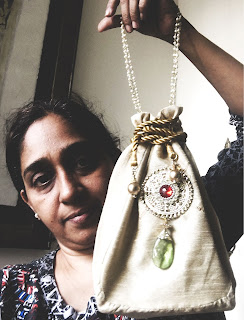
We all have bags in which jewellery or other precious things come. this bag actually came with a bottle of spirits believe it or not! Here below is the bag


it's a pale shade of gold and I've been wanting to buy a clutch that colour for a while now and haven't found the right one. So while cleaning my bits and bobs, I found a few things which could turn this into  rather attractive potli. 


This string of 'pearls' I found at my local fancy store. these are treasure troves of all kinds of things! The disc is actually from a toran I bought a few years ago from a Mumbai railway market. Below are the tools I used


Since the pearl string has links, I put the end links into a bigger link and stitched the chain to the fabric. You will need to stitch it at various points so that it doesn't tear with a bit of weight. Then I used the earring loop shown above to keep the three strings together and stitched the tiny eye to the fabric as well. . Next, used fabric glue to stick the toran part to the centre on one side of the bag and stitched it in places as well. The key thing to note here is that everything has to be light.. these kinds of bags will tear with very heavy jewellery bits.


And here I am holding it up
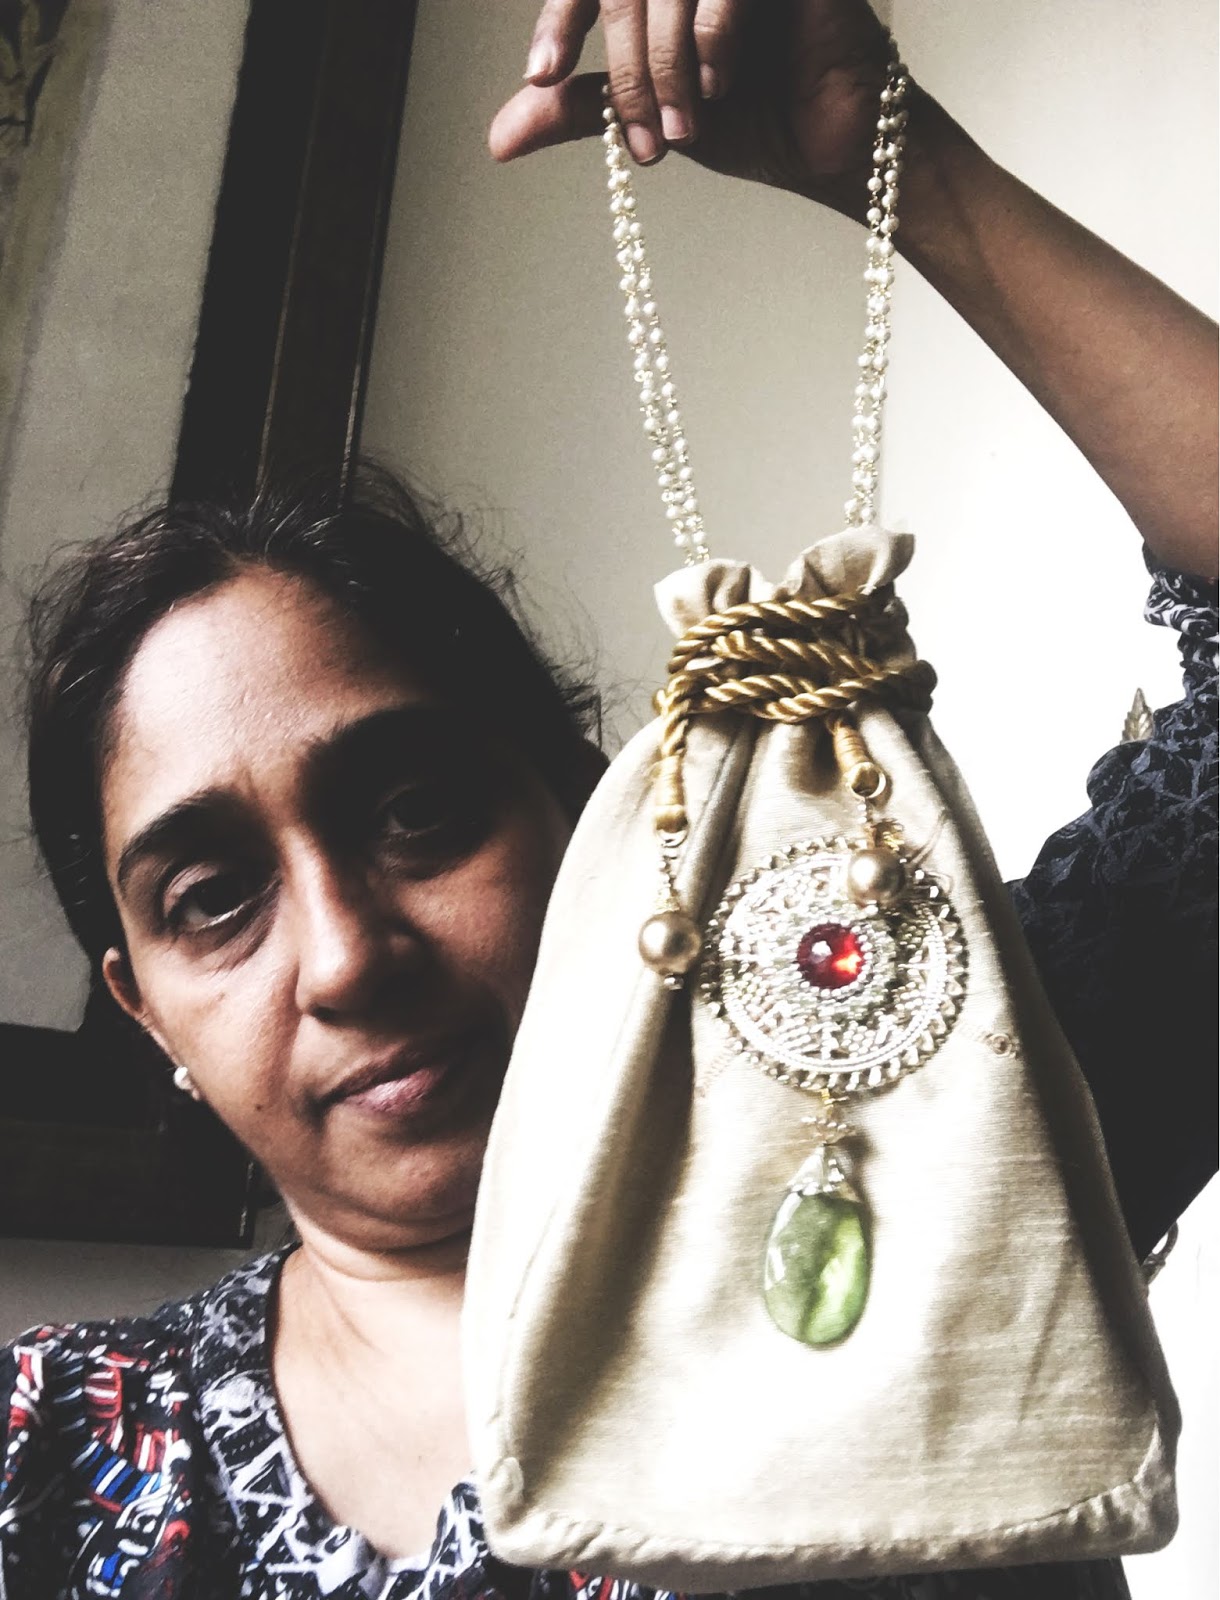


Tell me how you liked this and if you have any queries on how to ! Here are two more clutches that I have blinged up with bits of jewellery.. hit me up if you feel inspired by this post!


Read More »

Saturday, February 20, 2016

Trash to treasure - continuing where I left off with my senorita series

So inspired was I by the Mademoiselle chandeliers from Lladro that I thought one up while organizing my pantry!  Had to smile at the completed figure... I guess that is what quirky designs are all about!!

Here is my maiden with Digger the doggie whom I brought back from Stamford, UK


And with Tomasino whom I brought back on a visit to  the local Swarovski store..


Who suits her better you think? I added a battery operated light at the bottom for added effect here.

Here is a look at the material I used to assemble her... The bell shaped glass is from a candle stand that came apart..a bottle and cup from the pantry and some baubles from my craft cupboard.. I didn't want to paint it all evenly - for me it is all about telling a story with the things I had lying around. Unvarnished, Un touched up, she is so full of character!


I just put one thing on top  of the other and added a crocheted coaster to finish this look.. Quirky decor is all about having fun and when you look back at your work  it should bring a smile to your lips. This did for me.. and you?


Go ahead, grab a few things, out them together and make up a story, a collage of sorts. 

Read More »

Monday, December 14, 2015

DIY Vintage coasters

If you have old embroidered pieces, combine them with old fabric and burlap to make vintage feel coasters. These are cross stitch pieces I dis a while ago and have been repurposed here.


Here is a look at the material you will need - the embroidered patch or edging, burlap, old fabric, fuse bonding paper and threads in different colour.


Cut fuse bonding paper to the size of the embroidered piece.


Iron it on to the burlap or old fabric cut to size.


Finish with a running stitch in a contrasting colour.


Read More »

Wednesday, December 18, 2013

Bling up glass plates with some costume jewellery

This is one of five trays which I inherited. They are really old and gorgeous. I also inherited some of this floral costume jewellery which I never really wore so it slept in a cupboard which I dusted the other day. As with all my makeover stories the rest is in the blog post.

Here are the components of the makeover


I removed the clips and pins from behind these flowers, which is fairly easy to do with normal pliers. Then stuck it with blobs of fevibond. We here in India do not have the range of adhesives that crafters in the west have access to but with a bit of patience fevibond will do the trick. You just need to be generous with the amount ...


I have put it on my bedside table to hold my daily accessories... looks so pretty doesn't it?


Many of you have mailed me asking what adhesive I use and how it sticks. The pic below is to show that fevibond works great on metal but use it generously and leave it to set for a good four to five hours. If you are going to put it to rigorous use like the hair clips, I'd say leave it overnight. My daughter and I have both used the jewelled clips and the embellishments hold just fine. Same with the bangles.

Here you can see the bit of spillover from the fevibond. I will clean it up tomorrow when I am sure the flowers have set. Right now I was impatient to put this up so...


Read More »

Sunday, December 1, 2013

Make a bag with old placemats

Hope everyone in the west had a great Thanksgiving weekend. I guess the weekend continues for you guys, mine is nearly over! And I present to you my Bangkok Bag tonight cos I will not have time tomorrow. Mournfully Monday! I call it the Bangkok bag because I bought the prints from Bangkok a while ago. I tried putting it on cushions and the usual but there was something amiss so I retired it for a few years. I also retired a few denim placemats because they were a bit old and we got something new and eminently more washable so here is how I put them together

And below is the DIY part. The prints, the denim placemats and bamboo bag handles. 


I first stitched on the patches, one on each side, by hand because I enjoy hand stitching in the balcony watching the sun playing hide and seek with the trees, listening to bird song... it's a cathartic experience. Anyway I broke a needle on my sewing machine when I finally stitched the place mats together and spent a good amount of time putting in a new needle after extricating it from where it had fallen into the bobbin below. Well to cut a long story short I sewed most of this one  by hand.


I trimmed the excess cloth from above to cut it into a squarish bag and used the excess to hold the handles. Since I had two patches this one is a double sided bag!


The picture above is just to show you I hand sewed it!


This is the other side. Do you like it? Do write in and tell me!

Read More »

Monday, November 25, 2013

A fun DIY accent for the table

This is one of the many coaster crafts I have done since I am now an established coaster freak. Few people who like craft can resist a crocheted coaster and I simply had to have these - they looked so vintage and pretty. Here is how I used two of them.


I got two of the pretty coasters together with a bamboo skewer. Aren't  they pretty?


Using fabric glue I stuck the skewer to the centre of the wrong side of one of them and put on a scotch tape for good measure.


The ran the glue around the edges of the wrong sides of both coasters


And stuck them together. I added a wooden bead to the centre of each side and viola! 


a funky crochet accent is ready in a snap. Don't you simply adore the whimsy of it!

Read More »

Saturday, November 16, 2013

Reusing everyday objects as lamp holders this Karthigai

Hi all! Tomorrow (this Sunday) all over South India we celebrate a festival of lights called Karthigai Deepam. This is when we light lamps all around our homes like we do during Deepavali. Very very simply put, it is a celebration of the inner strength of the woman.  
Well this time I have decided that in addition to the beautiful lamp I bought for Deepavali I thought I would reuse some things that are used around the house for other purposes, not only because it is green but because it gives me a lot of creative latitude. Take a look see and let me know how you like it... 
Caution: This is a very long and picture heavy post!

Starting with the junk options...


This is an assemblage of the various things that sit in my little garden area... objects which I don't pay as much attention to as I perhaps should... better late than never I guess!


You do remember this guy from my old post right? This is my garden doorstop.


This iron pot looks much better here among the ruins of the shelf as it were...never thought I would use the word gorgeous for this but that is how it looks! So it will remain here forever...

Next comes my decadent vignette all gold and Strala battery lights... this is my entryway special so no one gets hurt coming in.. and there is so much wood close by too


Love it... especially the antique looking seahorse for which I paid a pretty packet in Bangkok - worth every Thai Baht though and then there is the diamante studded flower lamp which I bought a pair of for my friend.. somehow one ended up on my tableau!


Here is a closer look at the gorgeous lamp which I got from Home and Style.


Another set of lamps that use objects that don't normally have tea lights in them. There is the copper pen stand, the mini kadai and the made up urulis...sitting on an incredibly carved (and chipped by all the boys of the family) centrepiece.


Here is another look at the components. Don't miss the odds and ends which I had to add..


Of course I have a quirky option for my kitchen! The muffin pan is just right for the set of six


And now for the grand finale... the grand dame of all Indian lighting options... the kutthivilakku. This one is very ancient and has been passed down the generations. No adornment required... looks gorgeous all by itself. I just had to add the Tanjore touch... . These beautiful motifs are from Lotus and I don't think Abirami who runs the store has a facebook page or website but quite frankly I don't think she has the time... she is always beseiged with custom orders. Nevertheless I will ask the next time I meet her.


That's it then... happy Karthigai Deepam to all those celebrating and a happy weekend to everyone!


Read More »

Friday, November 15, 2013

Make something interesting with a basket

I confess to being a basket addict and I am especially partial to little baskets, so I do have a few of them lying around... and since I am now in a mood to put things together or throw them out, I decided to do something about this little black basket because I could not bring myself to fling it out.
 
So here is a look at the said basket


I had just bought a set of red and black beads on a whim and I remembered the black and orange bell that my dear friend had presented to me. It has pretty cut work in orange. So I pulled out an orange jewellery thread, my trusty gold wire, my favourite tiny ghungroos and set to work...


This is the result of twenty minutes of cutting, threading and twisting wire I made a garden variety dangler. Looks pretty anywhere, more pretty in the garden.


If you like it do leave a comment and if you have  variation of this or something like this please send me some picks or backlink with this post so we can have a little basket party of sorts!


Read More »

Monday, November 11, 2013

From trash to treasure in a snap

Last afternoon while I was sitting out waiting for my son to come back from school I found this piece of bark from a young coconut tree.


I picked it and thought what a lovely texture it had... looked rather like the expensive but rustically beautiful Micheal Aram creations. I brought it home and set to work on it. The whole bark is rather unstable and would not sit flat so I trimmed the edges.


Even after trimming the edges I had to weight it down with glass pebbles to flatten out  a bit of the bottom. I cleaned it just enough so the stains would still stay and then gave it a few swipes of gold paint - more at the edges and just swats inside and outside.


When that dried I sprayed on fast drying varnish so that it will stay for a while and let it dry. That is about all the treatment this requires. The rest is left to imagination. I decided that I would use it to hold diyas, preferably battery operated or tall ones holding tea lights. Eco friendly and close Nature also means extra caution.
So here are my vignettes...


Just as a display piece with a diya and my favourite decorated glass pebbles this piece of Nature looks lovely...


But wait! With IKEA's Strala battery operated lamp it looks even better.. what do you think... is one enough or maybe three?


I must say that Nature offers us the most brilliant centrepieces. Do you agree?

Read More »
/*facebook button*/
/*facebook button end */